TL;DR
Firebase Hosting doesn't allow direct server access, so the integration runs through a Cloudflare Worker that sits between Firebase and incoming requests. You point your domain at Cloudflare, connect Firebase as the origin, deploy a Cloudflare Worker with the Prerender code, and add your Prerender token as an environment variable. Most setups take 30–45 minutes, mostly waiting for DNS propagation.
Why this matters
Firebase-hosted sites built with React, Vue, Angular, or other JavaScript frameworks face the same crawler problem as any single-page application: AI crawlers like GPTBot, ClaudeBot, and Googlebot may miss or misread your content because they see a JavaScript shell instead of your full page.
Firebase Hosting doesn't allow you to run server-side code on incoming requests, so the integration uses Cloudflare Workers as the integration point — Cloudflare receives the request, the Worker checks if it's a crawler, and Prerender returns cached HTML for crawler requests while everything else passes through to Firebase normally.
Video guide
You can find the integration's worker source code on this gist.
Step 1: Create your Prerender account
If you don't already have one, sign up at prerender.io. You'll need an active account to generate the token used in Step 10.
Step 2: Create your Cloudflare account
If you don't already have one, sign up at cloudflare.com and add your domain. Cloudflare will give you a pair of name servers in the next step.
Step 3: Point your domain at Cloudflare
Open your Cloudflare dashboard, go to DNS, and copy the two Cloudflare name servers shown there. Then go to your domain registrar's DNS settings, remove the existing name servers, and replace them with Cloudflare's.

ℹ️ DNS changes can take up to 24 hours to propagate, but usually finish in a few minutes. You can continue with the next steps while you wait.
Step 4: Add Firebase DNS records to Cloudflare
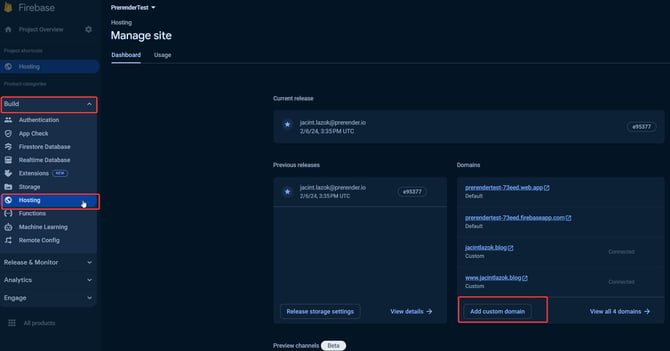
Open the Firebase Console, select your project, and go to Build → Hosting. Add your domain as a custom domain. Firebase will give you an A record and a TXT record.
Back in Cloudflare's DNS menu, add the A record and TXT record from Firebase. Make sure the proxy status is enabled on the A record (the orange cloud icon must be on).
Step 5: Verify your domain in Firebase
Go back to Firebase and click Verify on your domain entry. Firebase will check that the DNS records are in place. This may take a few minutes — you can continue with Step 6 while it verifies.
Step 6: Add the www version of your domain (if you use one)
If you serve traffic on both example.com and www.example.com, add the www version to Firebase as a separate custom domain. Firebase will give you a CNAME record. Add that CNAME to Cloudflare with proxy status enabled, then save.
Step 7: Create a Cloudflare Worker
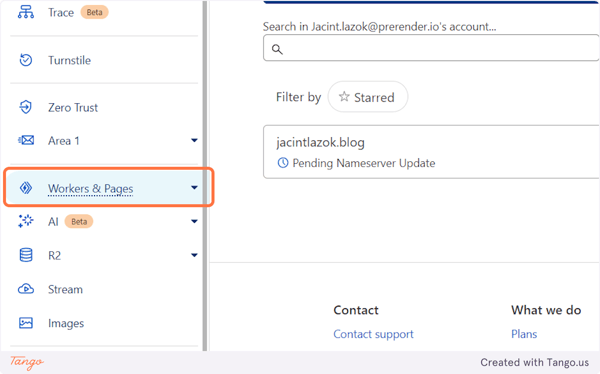
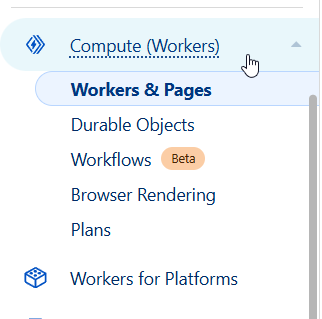
In your Cloudflare dashboard, click Compute (Workers) on the left, then Workers & Pages.
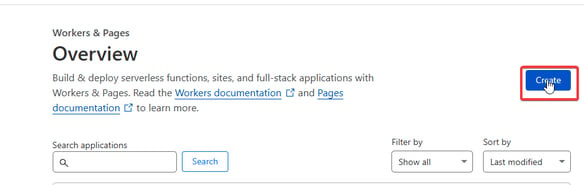
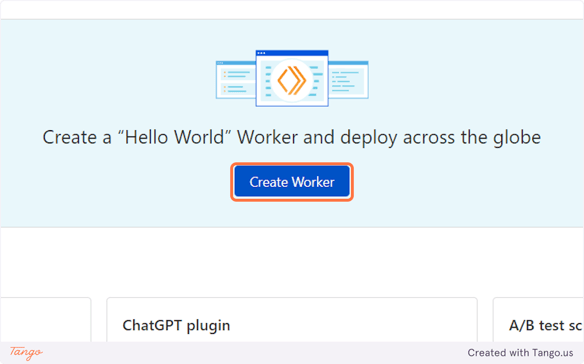
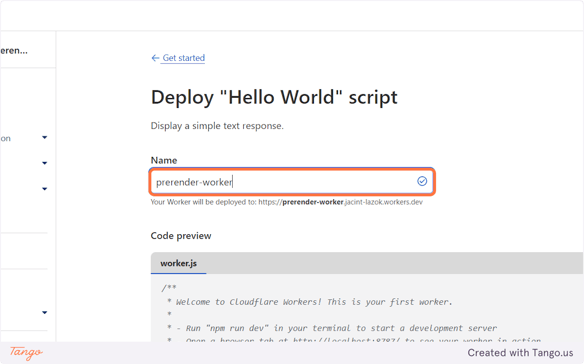
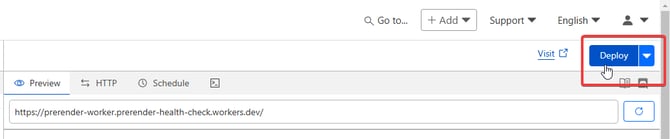
On the Workers overview page, click Create, then Create Worker. Give the worker a descriptive name like prerender-worker, then click Deploy to initialize it.

Step 8: Add the Prerender worker code
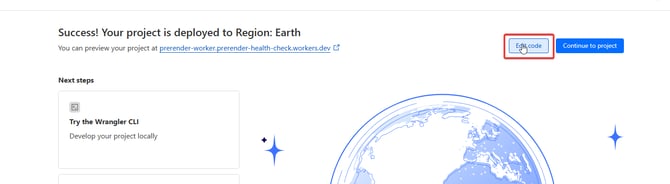
Click Edit Code, delete the example code, and paste in the Prerender worker source from this gist: Cloudflare worker source code.
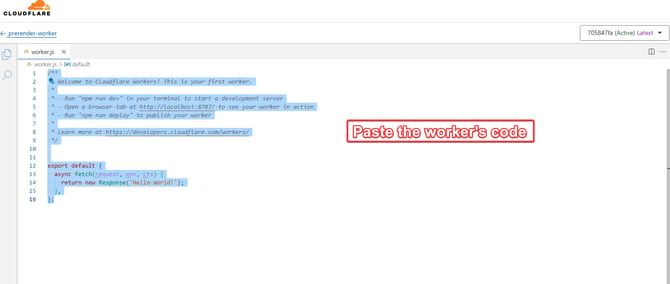
Save by clicking Deploy.
Step 9: Configure the worker route
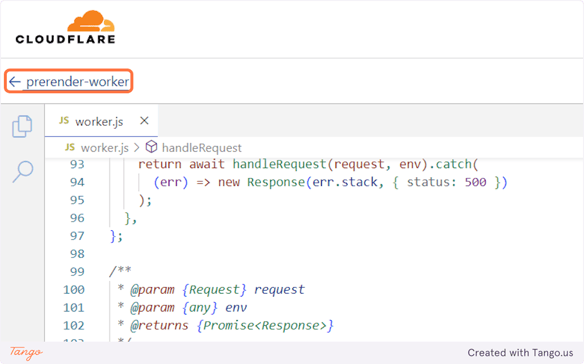
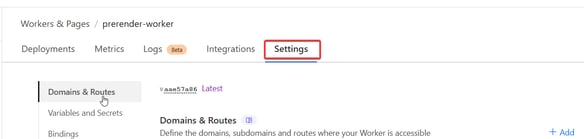
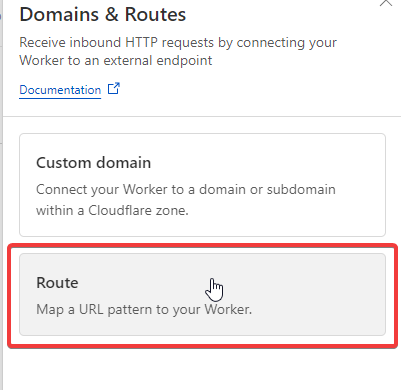
Step back to the worker's main page by clicking the worker name in the top left. Go to Settings, then find Domains & Routes and click + Add. Select Route.
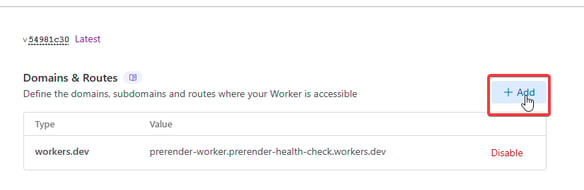
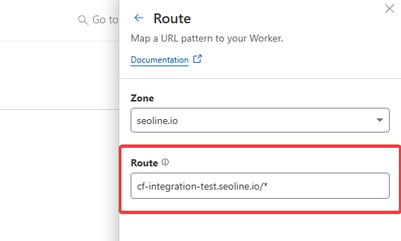
Enter a route pattern that matches your site and pick the zone where your site lives. Use this table to choose the right pattern:
| Website address type | Route pattern |
|---|---|
example.com |
example.com/* |
www.example.com |
www.example.com/* |
| Both with and without www | *example.com/* |
| Any subdomain | *.example.com/* |
| Specific subdomain | blog.example.com/* |
| Multiple specific subdomains | (sub1|sub2).example.com/* |
You can add multiple routes if you want to test Prerender on a single subdomain first — add another route to the worker later when you're ready to expand.
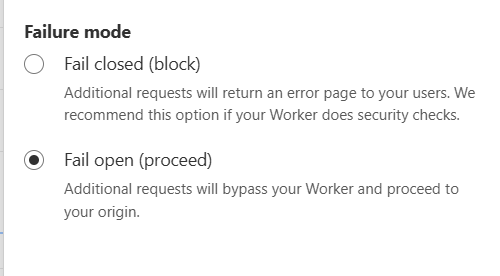
Select a Failure mode, then click Add Route to save.
Step 10: Copy your Prerender token
Open your Prerender dashboard and go to Security & Access to copy your Prerender token.
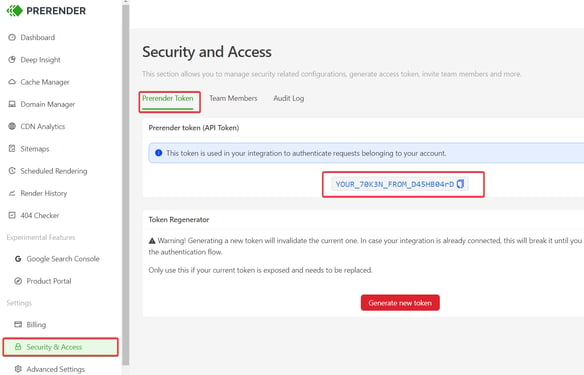
ℹ️ The location of the Prerender token has changed in recent dashboard versions. It now lives under Security & Access → Prerender Token, not under the account menu.
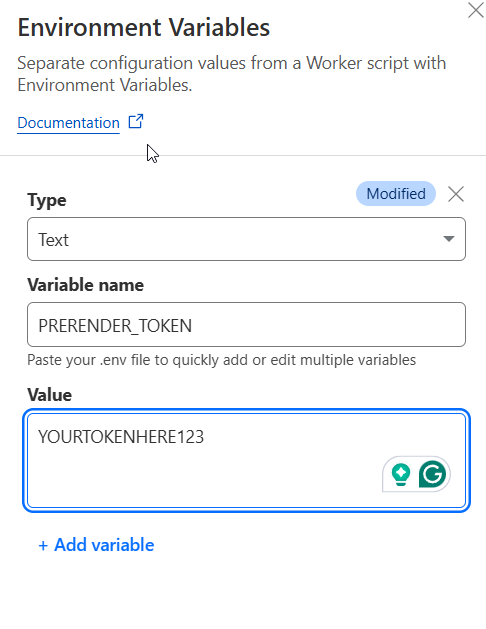
Step 11: Add the token as an environment variable
Back in your Cloudflare Worker settings, find Variables and Secrets and click + Add. Add a text variable named exactly PRERENDER_TOKEN and paste your Prerender token as the value. Click Deploy.

ℹ️ Not sure if your route pattern, zone, or token are configured correctly? Ask Nexus, your AI integration assistant inside your Prerender dashboard — share a screenshot of your worker settings and Nexus will check your configuration and flag anything off.
Step 12: Verify your integration is working
It can take a few minutes for the integration to start working after the final deployment. Once that's settled, test by sending a request with a crawler user-agent. Replace www.yourpage.com with your real domain:
curl -v -A googlebot www.yourpage.com/Look for Prerender response headers in the output (for example, x-prerender-*). For the full verification walkthrough — including checking your dashboard for cached pages — see How to test your site after integration.
✅ Your integration is working when the curl response contains Prerender headers and your dashboard shows cached pages within 2–5 minutes of the first crawler request.
If verification fails or you see a "Prerender Integration Not Detected" message, see What should I do if I receive a Prerender Integration Not Detected error?
💬 Still need help?
If you've followed the steps above and you're still hitting issues with your Firebase or Cloudflare Worker setup, our support team can help.
→ Contact us at support@prerender.io
To help us resolve your issue quickly, include any error messages you're seeing, your worker route pattern, screenshots of your Cloudflare and Firebase setup, and the steps you've already tried.
Related articles
- How do I integrate Prerender with Cloudflare?
- How to test your site after integration
- Why am I seeing 403 or 404 errors after integrating Prerender?
- How can I integrate Prerender if my hosting platform doesn't allow direct server access?